Minnie the Cat

|
|
|
|
|
|
Minnie the Cat |
|
|
|
|
|
|
|
|
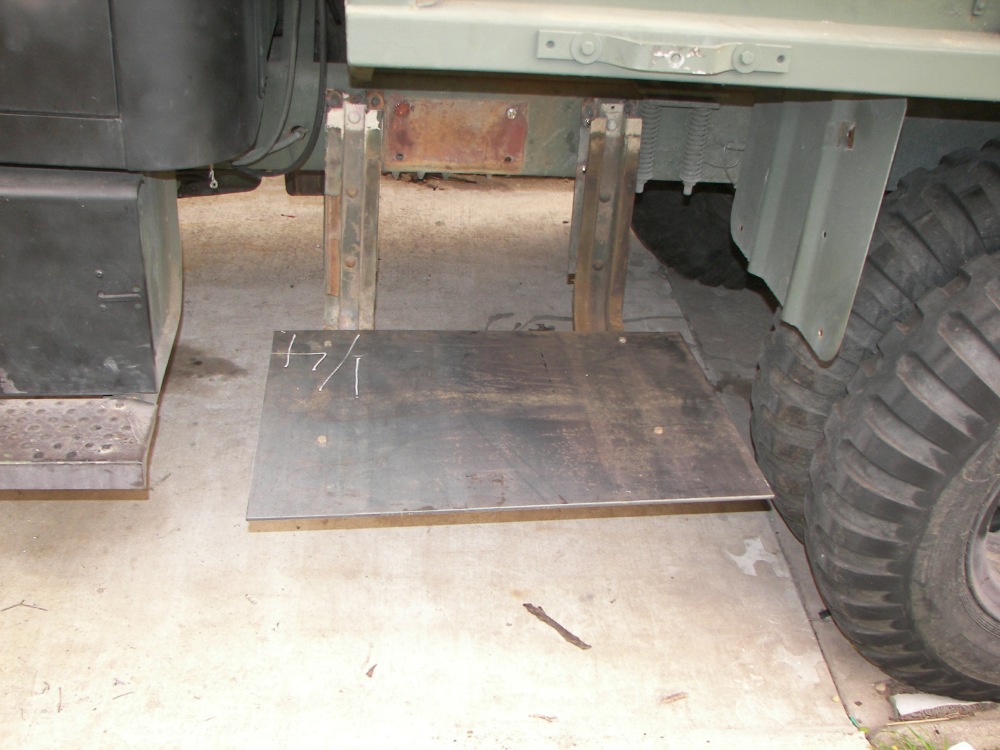
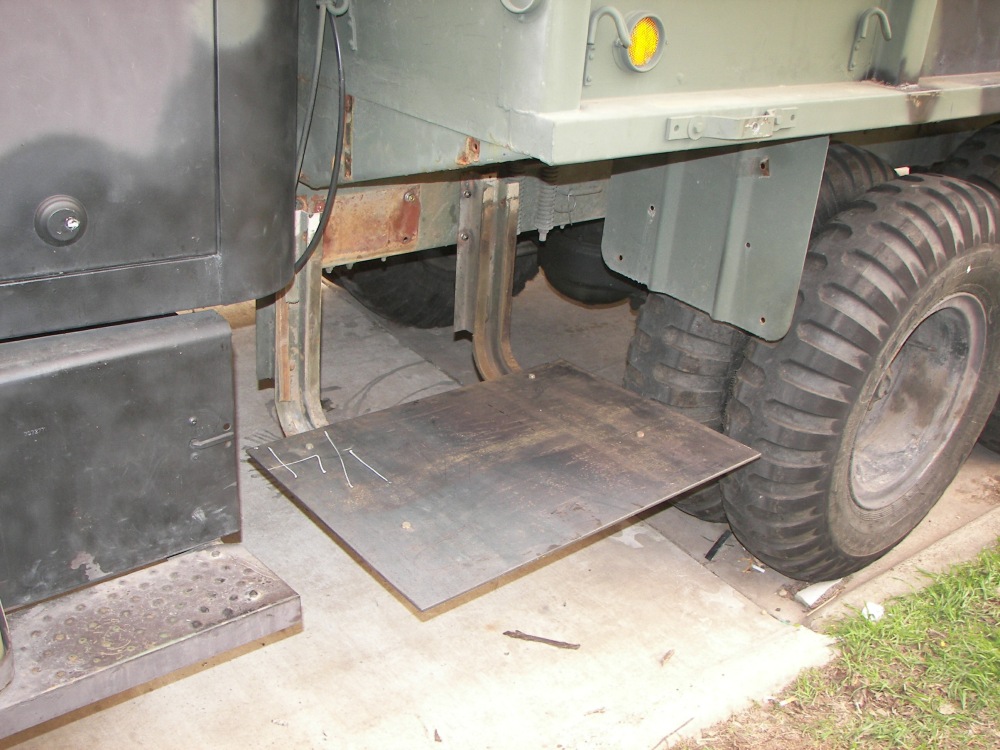
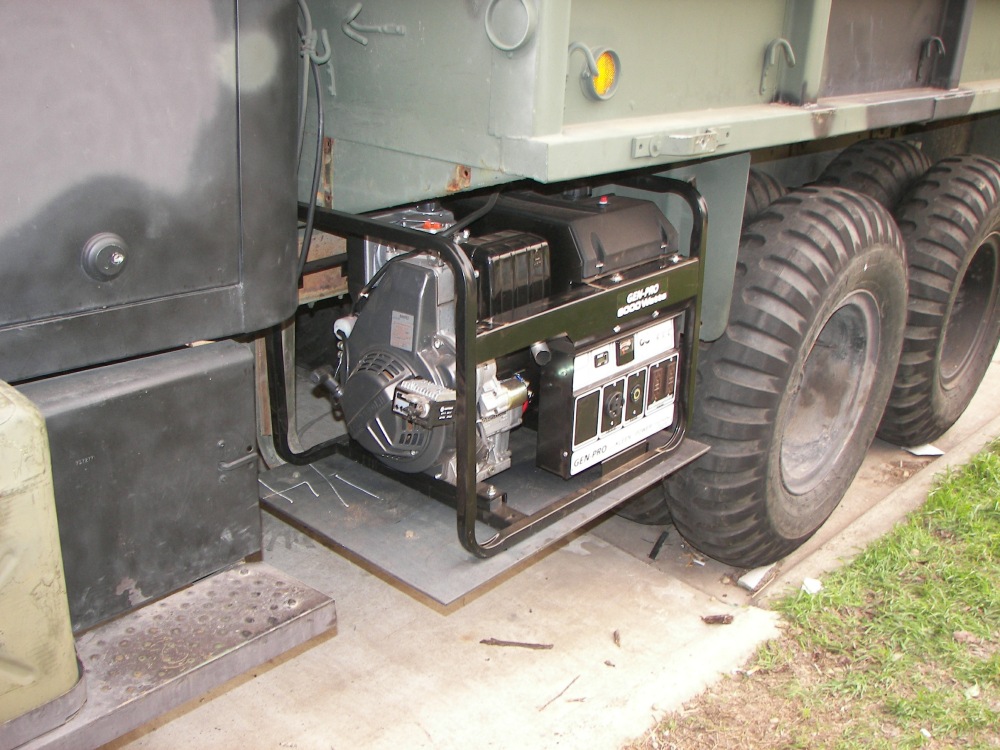
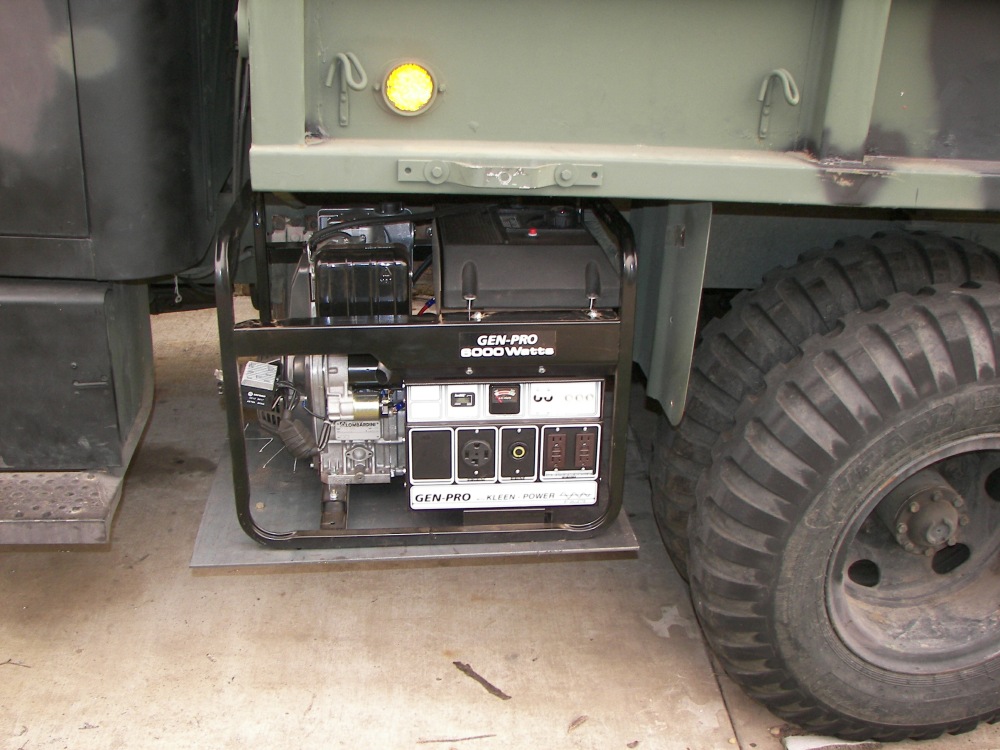
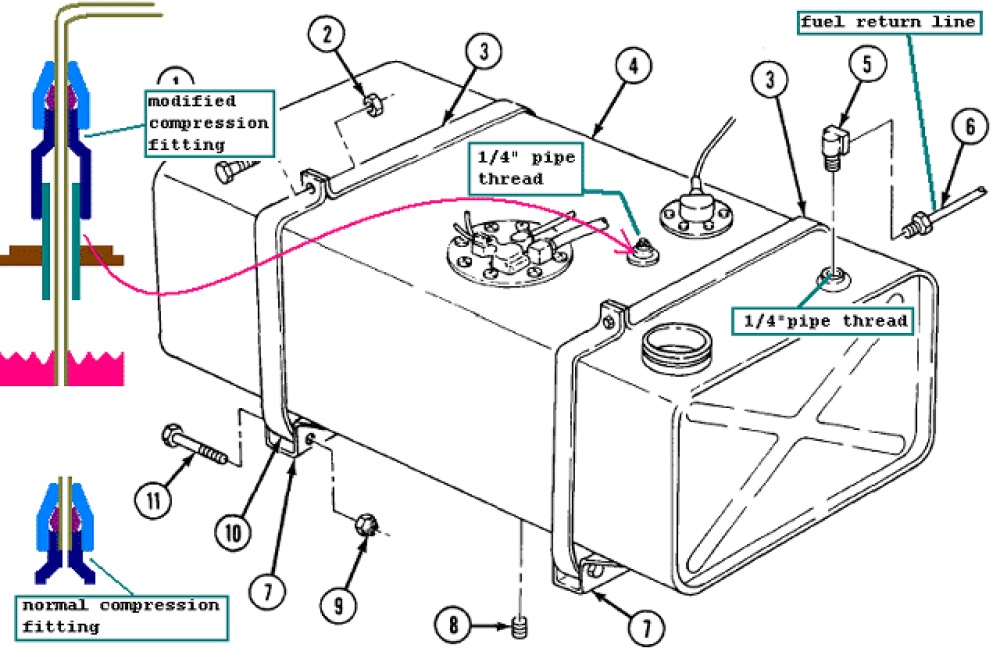
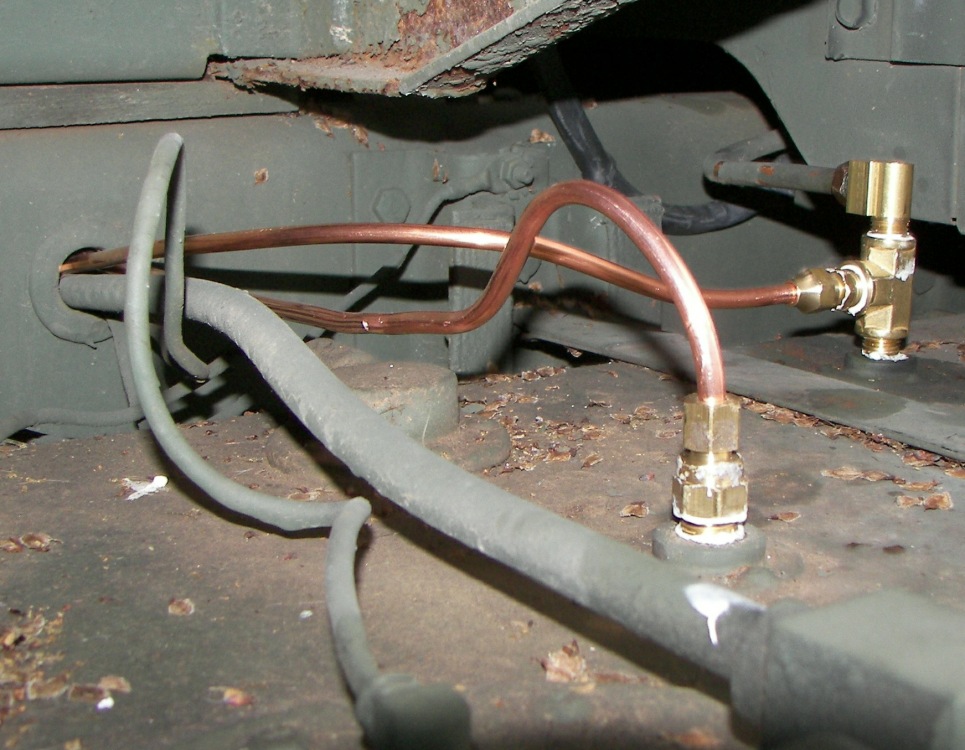
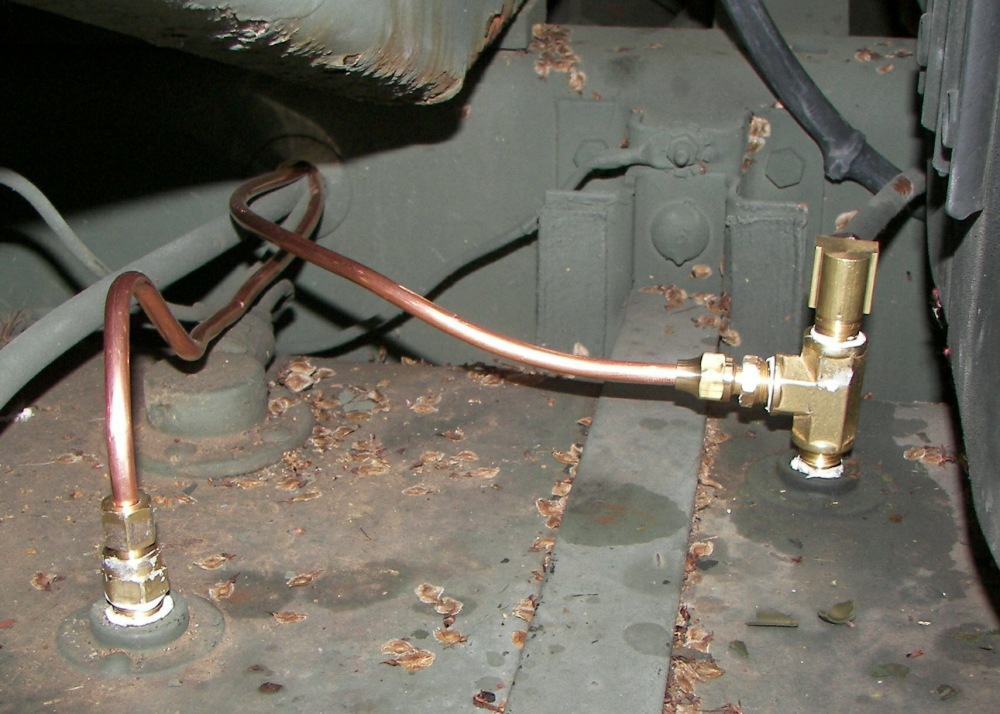
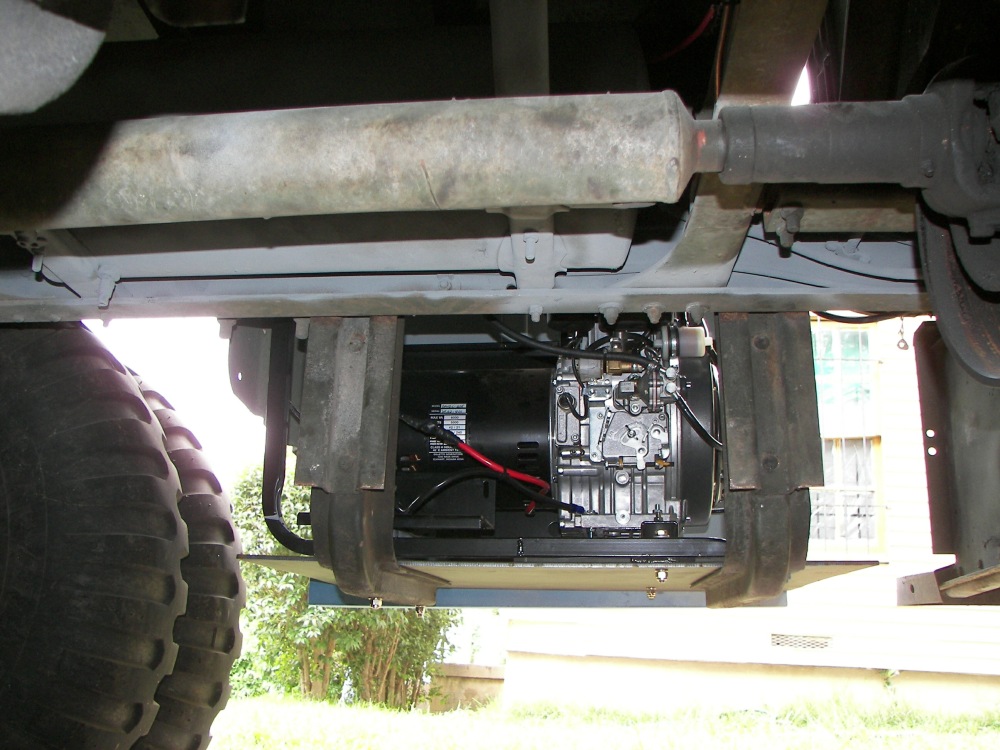
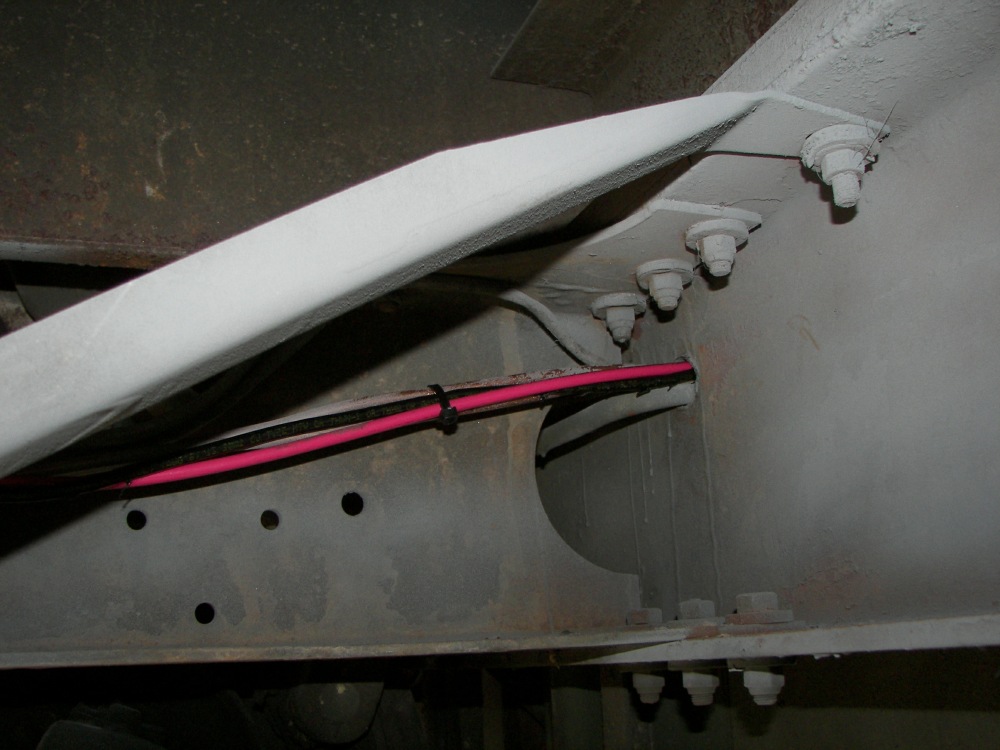
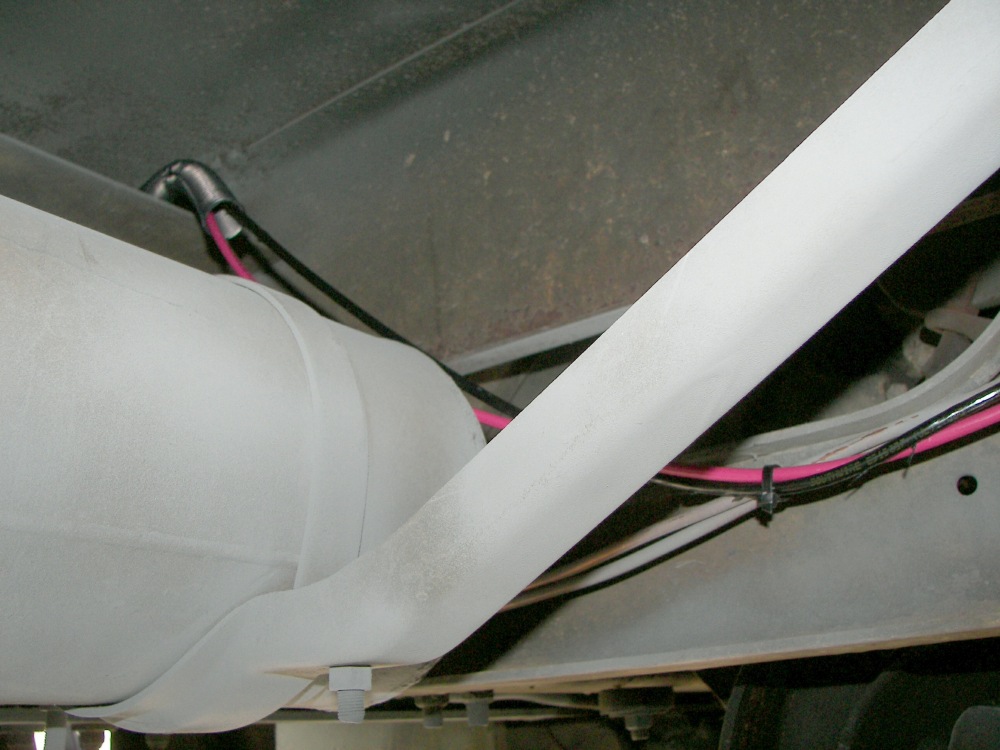
Things moved quickly from this point. A 1/4" steel plate of 24x33" was used as the base. The brackets were found to be unequally true, and so a jack was placed under the lower-hanging most-warped one and it was bent into true with the other. The set was placed on the plate and generally checked for fit. Plumbing the fuel supply and return lines was a little bit of a challenge. It was simple to arrange the return line, but the pickup line took a special trick as shown in the drawing, being drilled out to allow the copper line to pass through it and down into the tank. Pipe dope was used on threaded connections but fuel-proof yellow teflon tape could alternately have been used. Note: do the return line first or the pickup line will be in the way of the tools. The truck's original 38 year old return line tank elbow (#5) was extremely hard to remove. Mine broke, so it might pay to have a spare to go back in with. The 12V + and - cables are #6 and were run along with the fuel lines through the same grommeted hole as the truck's existing lines. At the generator, heavy duty lugs were attached to the ends of the #6 wires and soldered, these were then bolted to the generator's battery lugs and liberally enclosed with 3M "23" self-sealing rubber tape. Throughout the project, my friend Minnie stood guard against pests.
Page 3 of 5