Split A/C System for the S-280 Shelter
(Completion)
Two years passed between the start of this project and the basic finish. It still remains to add a thermostat and contactor to control the system, but the main job is done. There were some difficulties and challenges. The text below tells the story.
This is an account of building and installing a 12000BTU split-system air conditioner in an S-280 on a deuce.
I have been running a small 8000BTU air conditioner that weighs about 65 lbs and is mounted in an air conditioner hatch. In the summer sun and with people going in and out and the door being opened and shut and with the radio gear and computers on, the coolest I've been able to keep the inside of the shelter is 85 degrees. 100 outside, 120 on the shelter skin from the sun, 100 on the interior skin, and 85 is the air temperature. Too hot.
While a 1-ton (12000BTU) unit might fit in an S-280 hatch, it is generally too heavy at 120-140 LBS to risk mounting there unless you have the near-unobtainable military hardware. It's not just the larger compressor, it's the larger fan motor, heaver electrical parts, coils, frame, casing.. it adds up. (For an M109 truck, the body is stronger so there is usually not an issue.)
I decided to split up the weight and bulk and put the condenser on the outside and the evaporator on the inside with copper lines between them.
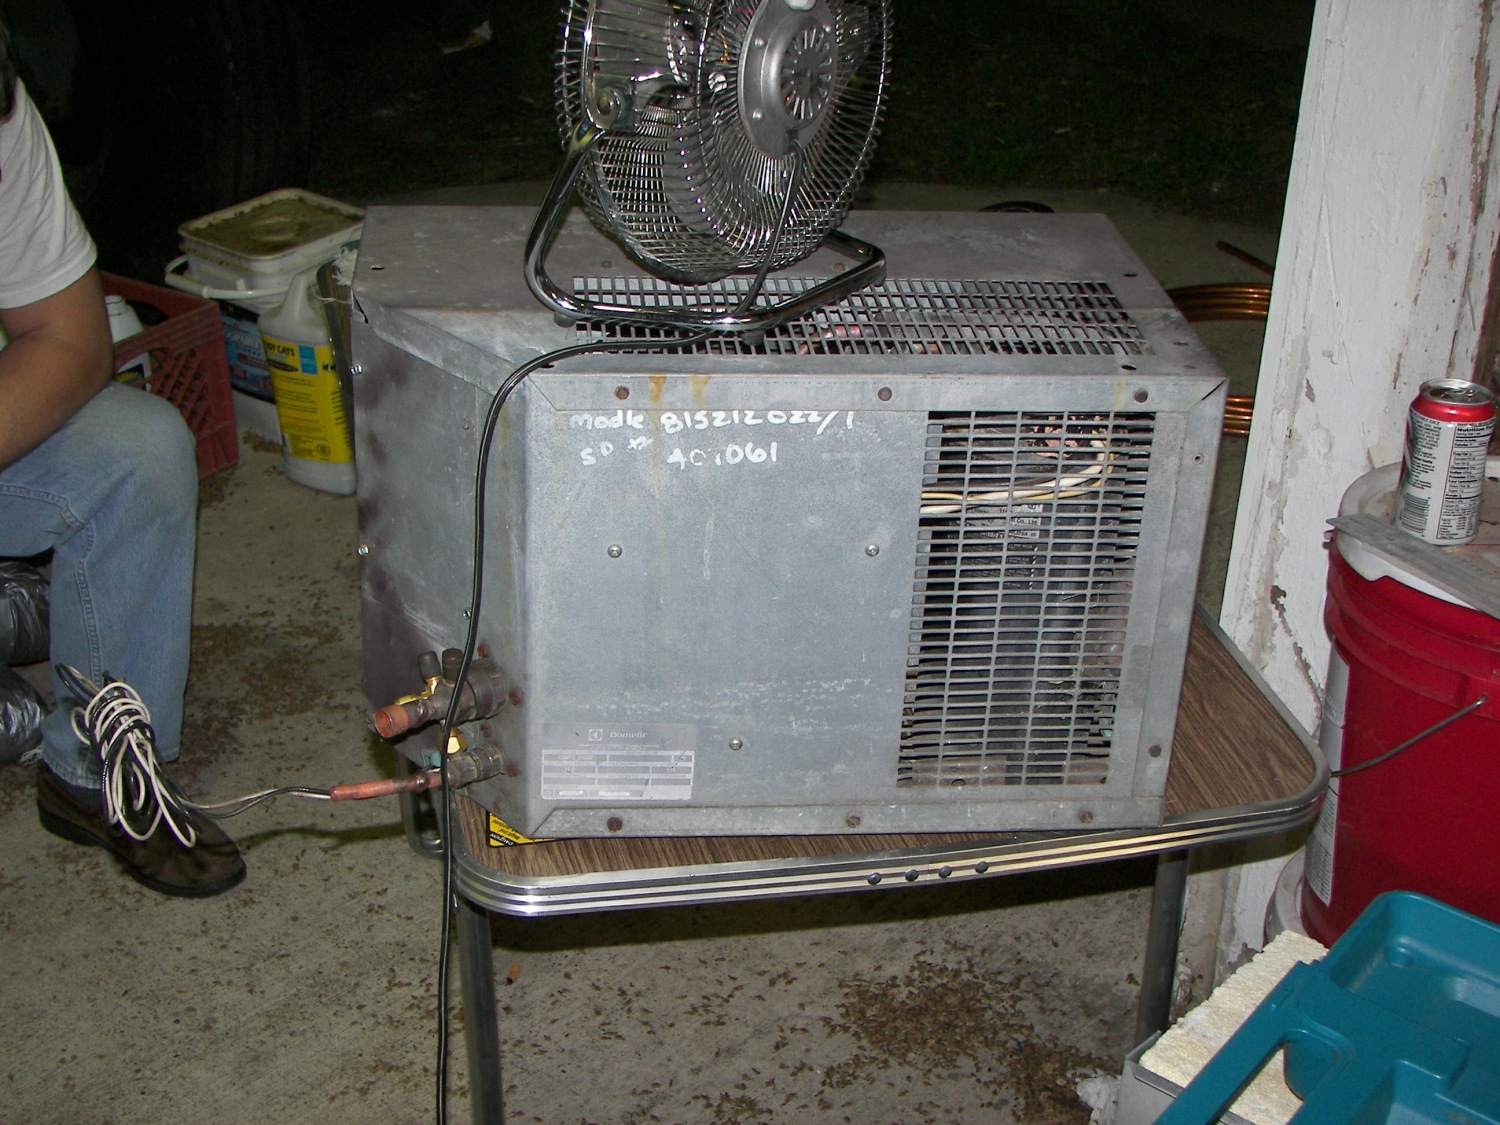
I found a 65-lb condensing unit which came off a reach-in cooler like where you get yer beer out of at the 7-11 and was rated for 12000BTU. (the condensing unit is same as the part of your central air that sits outside and compresses then cools and liquifies the refrigrant) I have had that condensing unit hanging on the outside of my truck shelter for a couple years now.
It was in the afternoon and we took it down and investigated because it had to be cleaned up, etc.
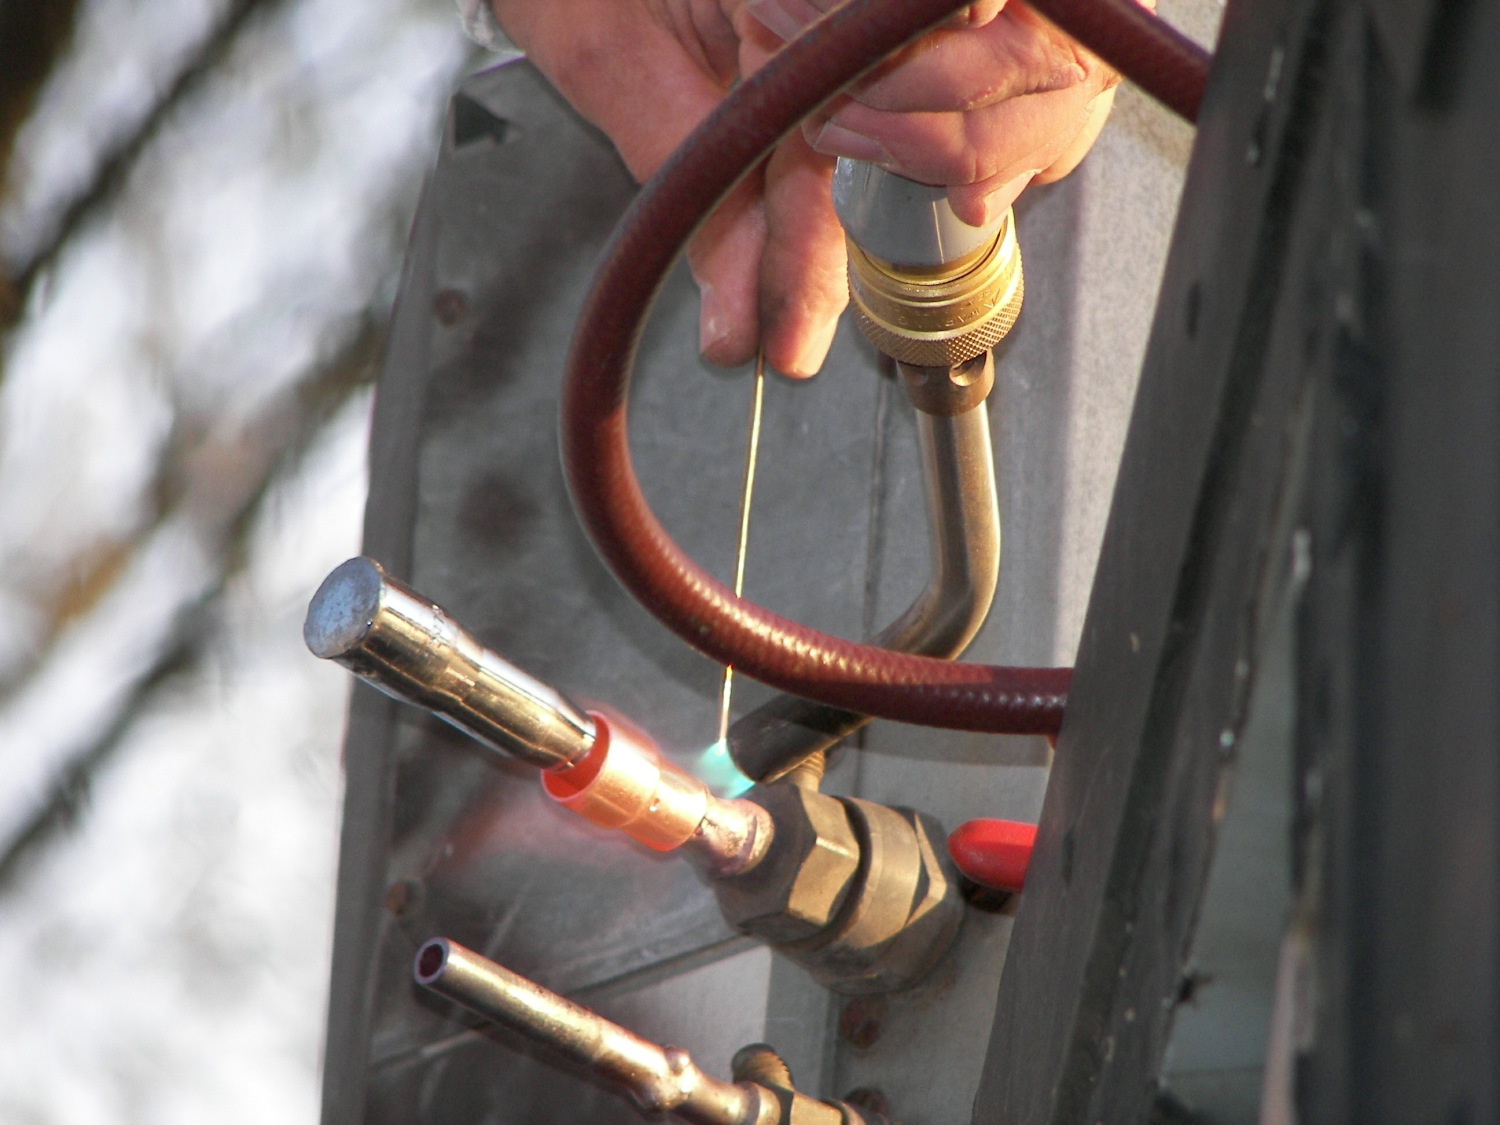
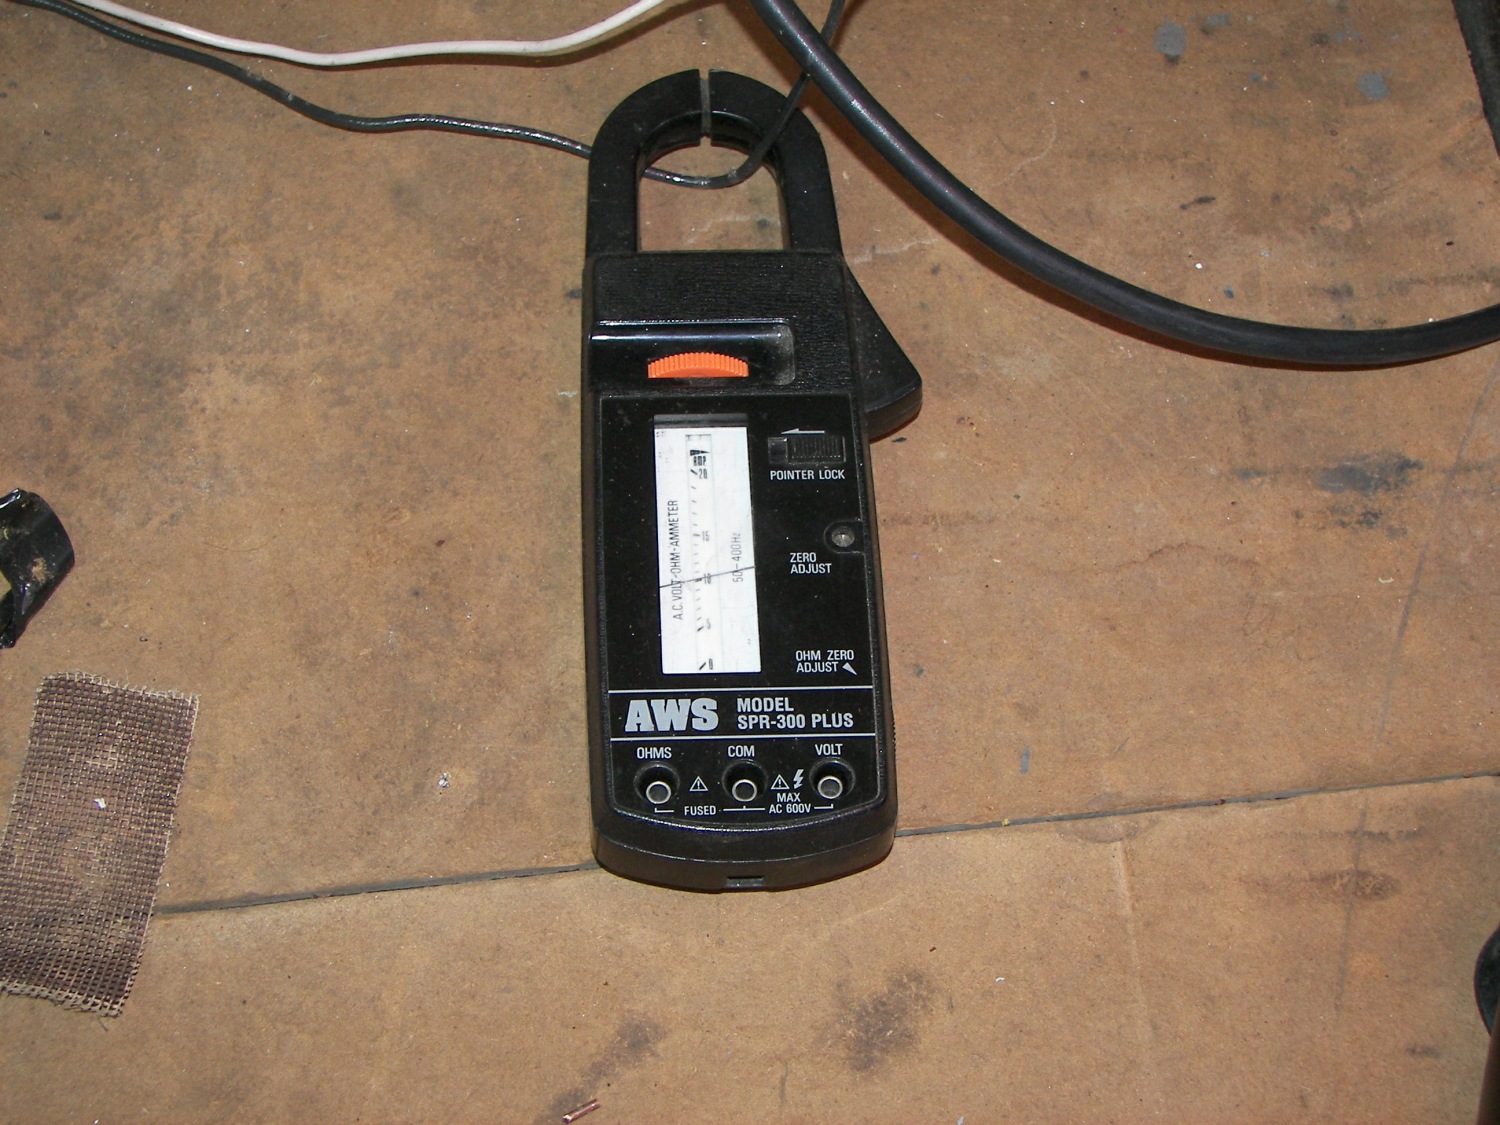
The compressor was dead and a line was cracked due to 2 years of vibration mounted on the truck but we decided to fix it. I canibalized an old 120V 1-ton window unit for a similar size compressor. The copper pipes in the condensing unit had to be re-routed because the "new" compressor was a tight fit. Once this was done and the electrical wiring for the start and run windings of the compressor were figured out, I applied power and saw 10 amps on the clamp-on ammeter which is a good thing. When the new compressor was mounted, it was done rigidly instead of with alot of springy mounts. This will and does transfer alot of compressor vibration to the frame and mount but it also will keep the lines from cracking due to the compressor bobbing around as the truck moves. My friend Jack who is an a/c repairman (and all along said this was too much adventure for sane people) was helping me by doing the soldering of the copper lines and vacuum/charge the system. So no one can say I don't know Jack about a/c.
The unit was carried on my shoulder up a 6 FT ladder to the roof of the truck and handed over to Jack and he set it in the mount I previously built onto the frontside of the shelter. We had to do this prcedure three times due to unforseen things being crapped up. "it's leaking", "another leak", the "wire is shorting out..". About all this up and down carrying, I can point out that when a 65LB hard weight is on your shoulder it really doesn't matter whether you are ascending or descending a ladder, you just want it done. Once you do this enough, you pass the point of saying 'bolt it' and insist on finishing the job.
A 2" diameter hole was drilled through the shelter front wall with a hole saw and the copper lines and power cable were stuck through.
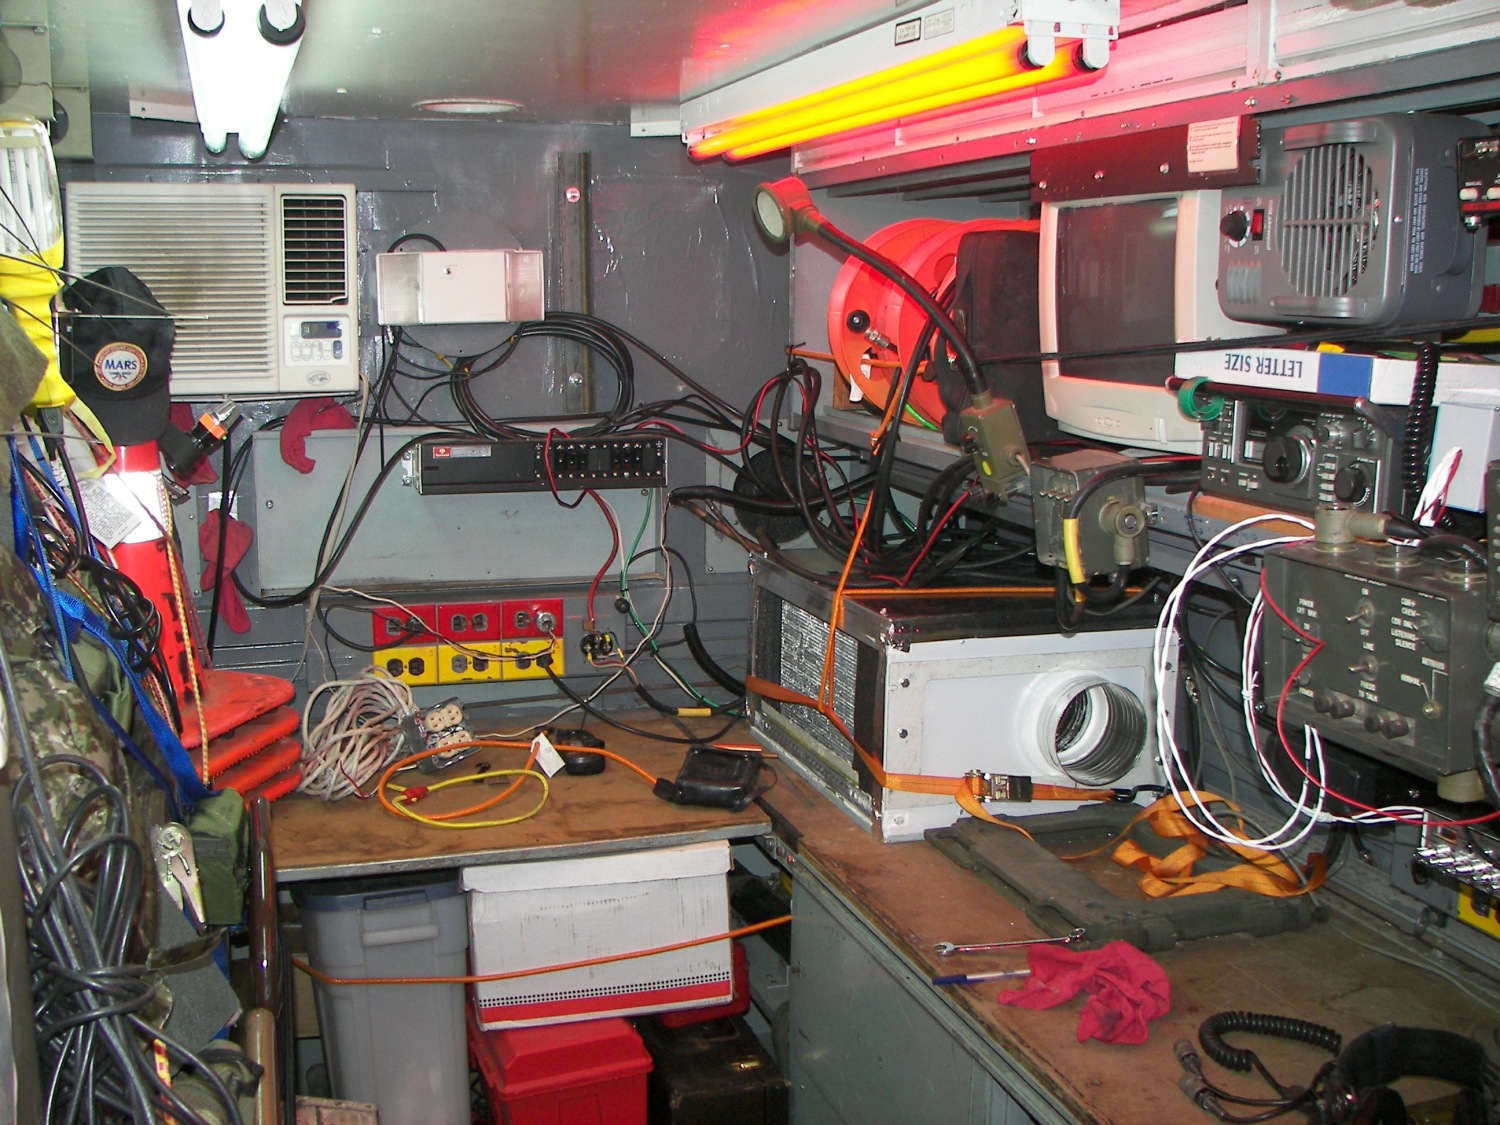
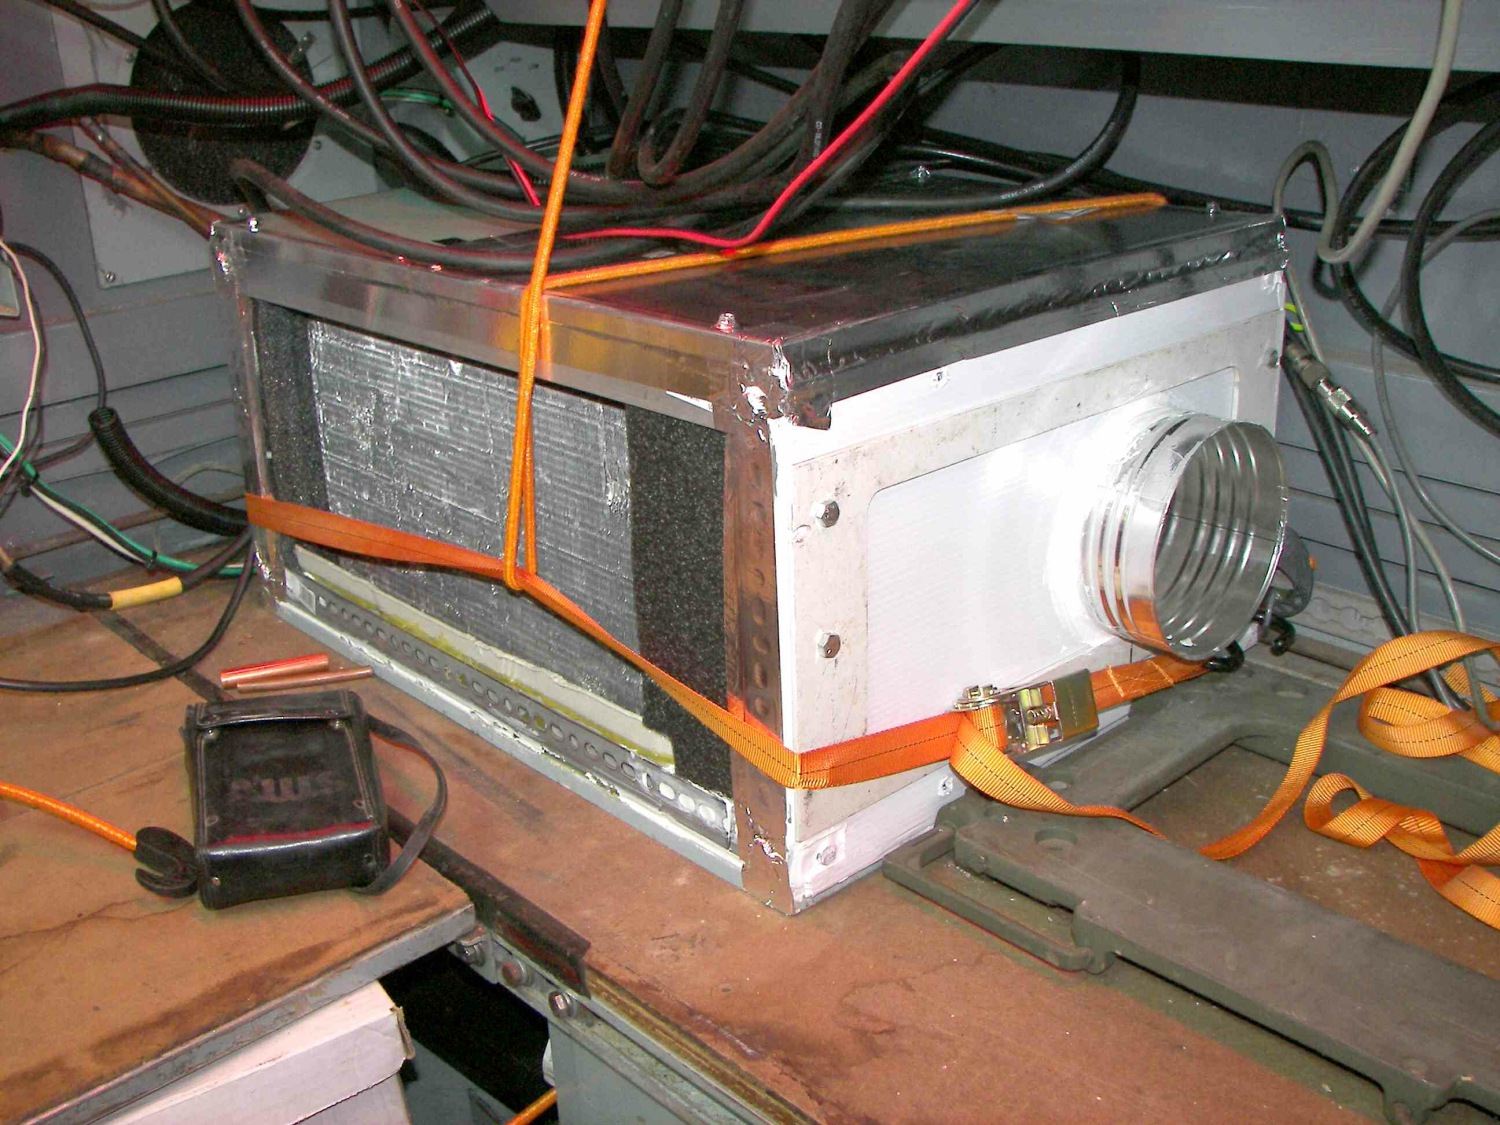
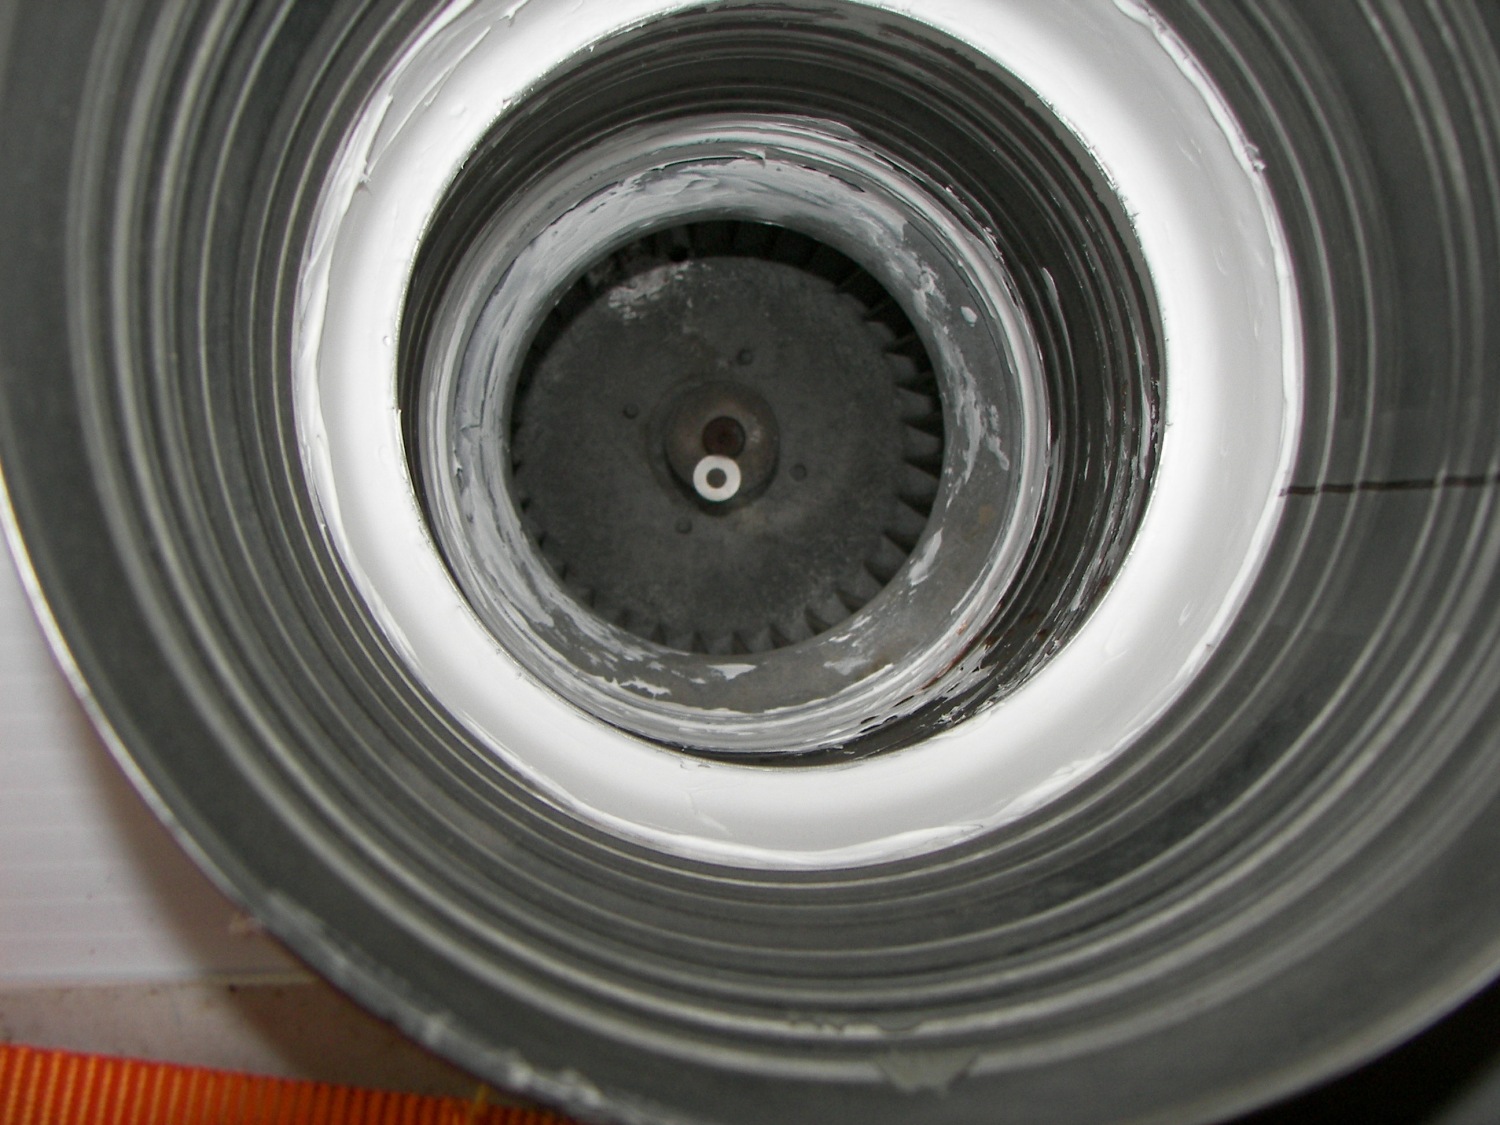
Inside, I put the evaporator which I had already built out of some sheetmetal and angle iron with a 450CFM blower and the evaporator coil from an old 1-ton window a/c unit. The blower 'sucks' the air in from the side through an 8" duct and pressurizes the entire box. The air is not directed at the condenser but is free to flow through it. There is about 1/8" water static pressure so I'm good with the CFM. The drip pan is a two-chamber one, that is, a 1" deep pan the coil sits in, and under that, a 3/4" tall pan where the water can collect and run out through a hose. This way there is no issue of incorrect drainage if the truck is parked at an incline or tilt.
So Jack pumped it down and charged it, and once done the reward after a few minutes of operation was 34 degree air.. Exhaling into the cool air output of it made a fog as though it were winter. It was 3 AM.
I do not know how long this contraption will last, everything came from junk piles except the copper lines so it was almost free. For now I am happy with it.
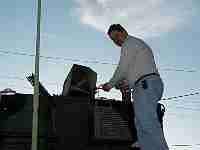
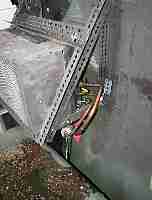
Jack Slaughter up on the roof of the cab.
|
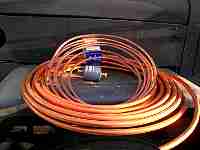
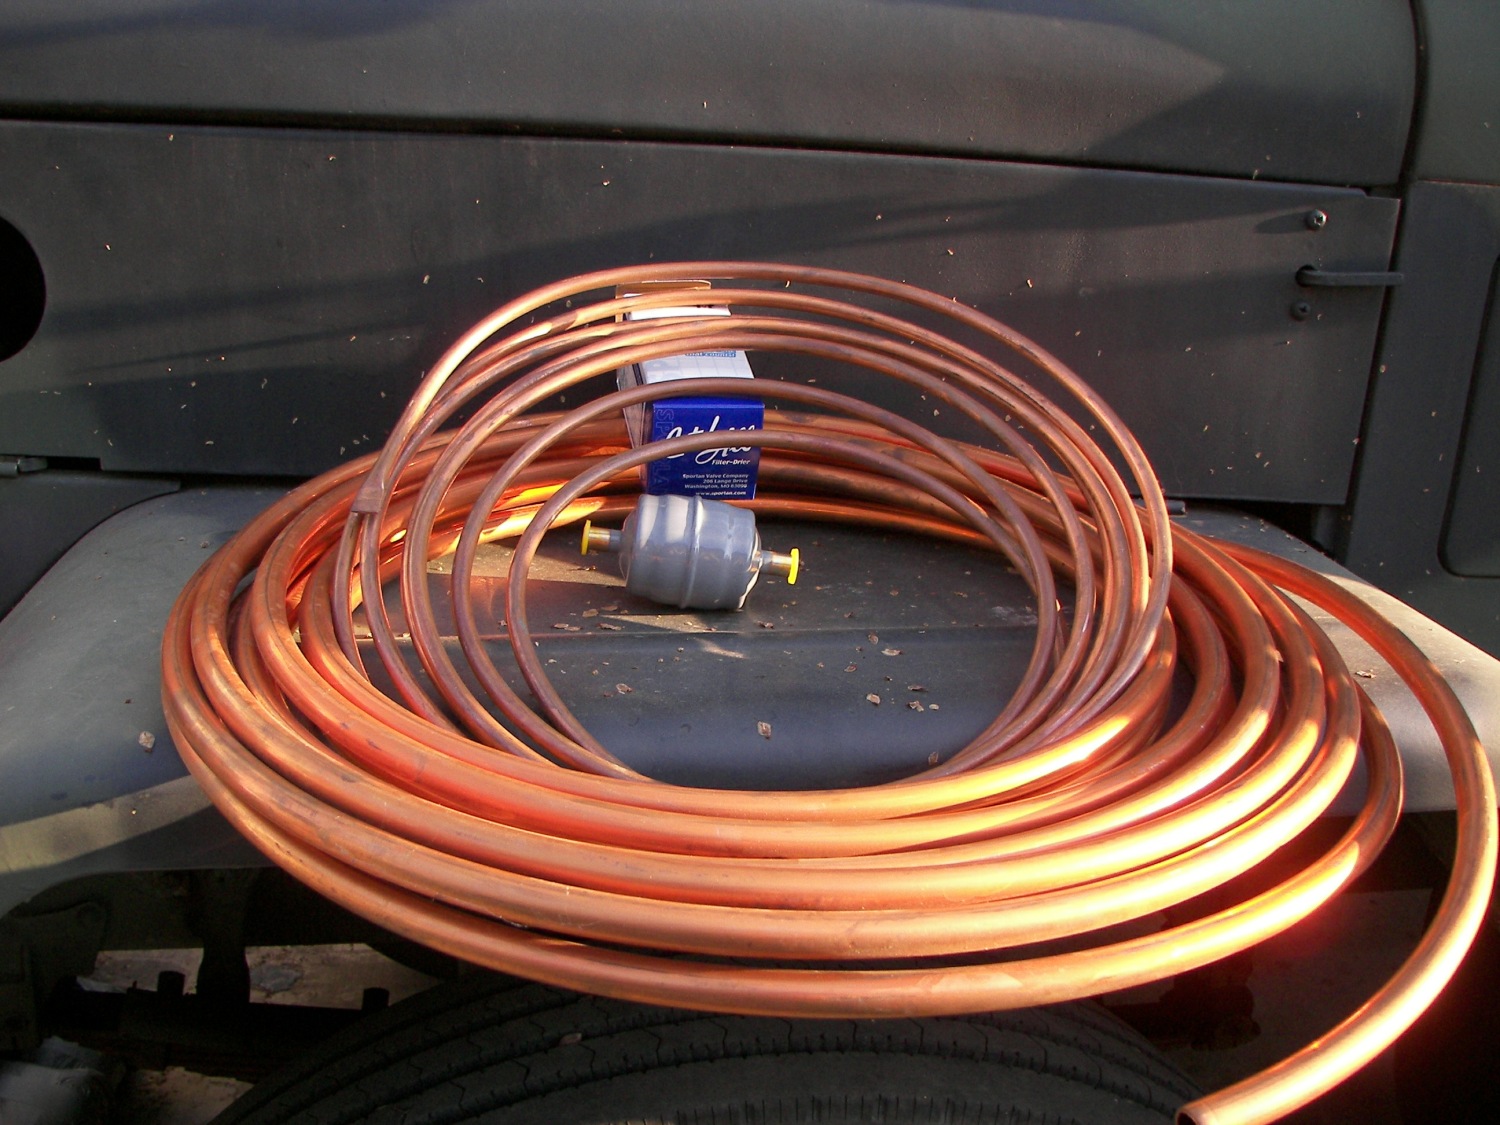
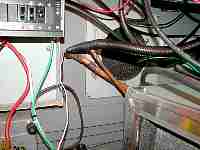
Costly copper lines! -and the refrigerant dryer.
|
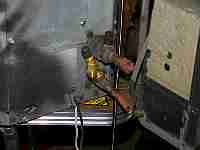
The fittings were pretty messed up, I don't think many other A/C experts could have made this work.
|
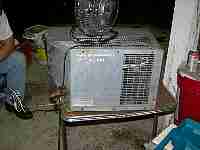
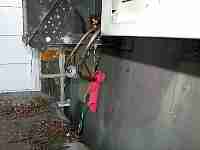
Had to take the condensing unit back down and replace the compressor
|
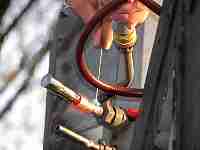
The couplings
|
In the mount and plumbed up.
|
The geometry made the job almost impossible. It was easiest to bend the lines and avoid alot of 90 degree fittings.
|
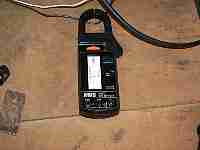
10 amps for the condensing unit (compressor and fan)
|
The evaporator unit in the right corner, tied in place for now till I can make a bracket to hold it permanently.
|
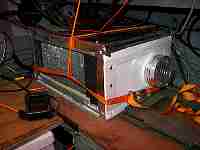
Unlike most A/C units, the cold air comes out of the grille (coils) and is sucked in through a smaller port.
|

The powerful blower input, and yes those are two "large" planters cashews cans as the duct.
|
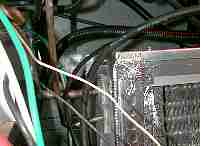
The lines exit the evaporator at the front
|
The lines go through the shelter wall to the condensing unit. Later they will be covered and everything will be dressed and made neat.
|